
Publishing Your Agent on Agentpunkt: A Step-by-Step Guide
Welcome to the Agentpunkt marketplace! This guide provides a complete walkthrough of the agent submission process — from understanding what publishing means and why it matters, through every field in the submission form, to the review process and what happens after your agent goes live.
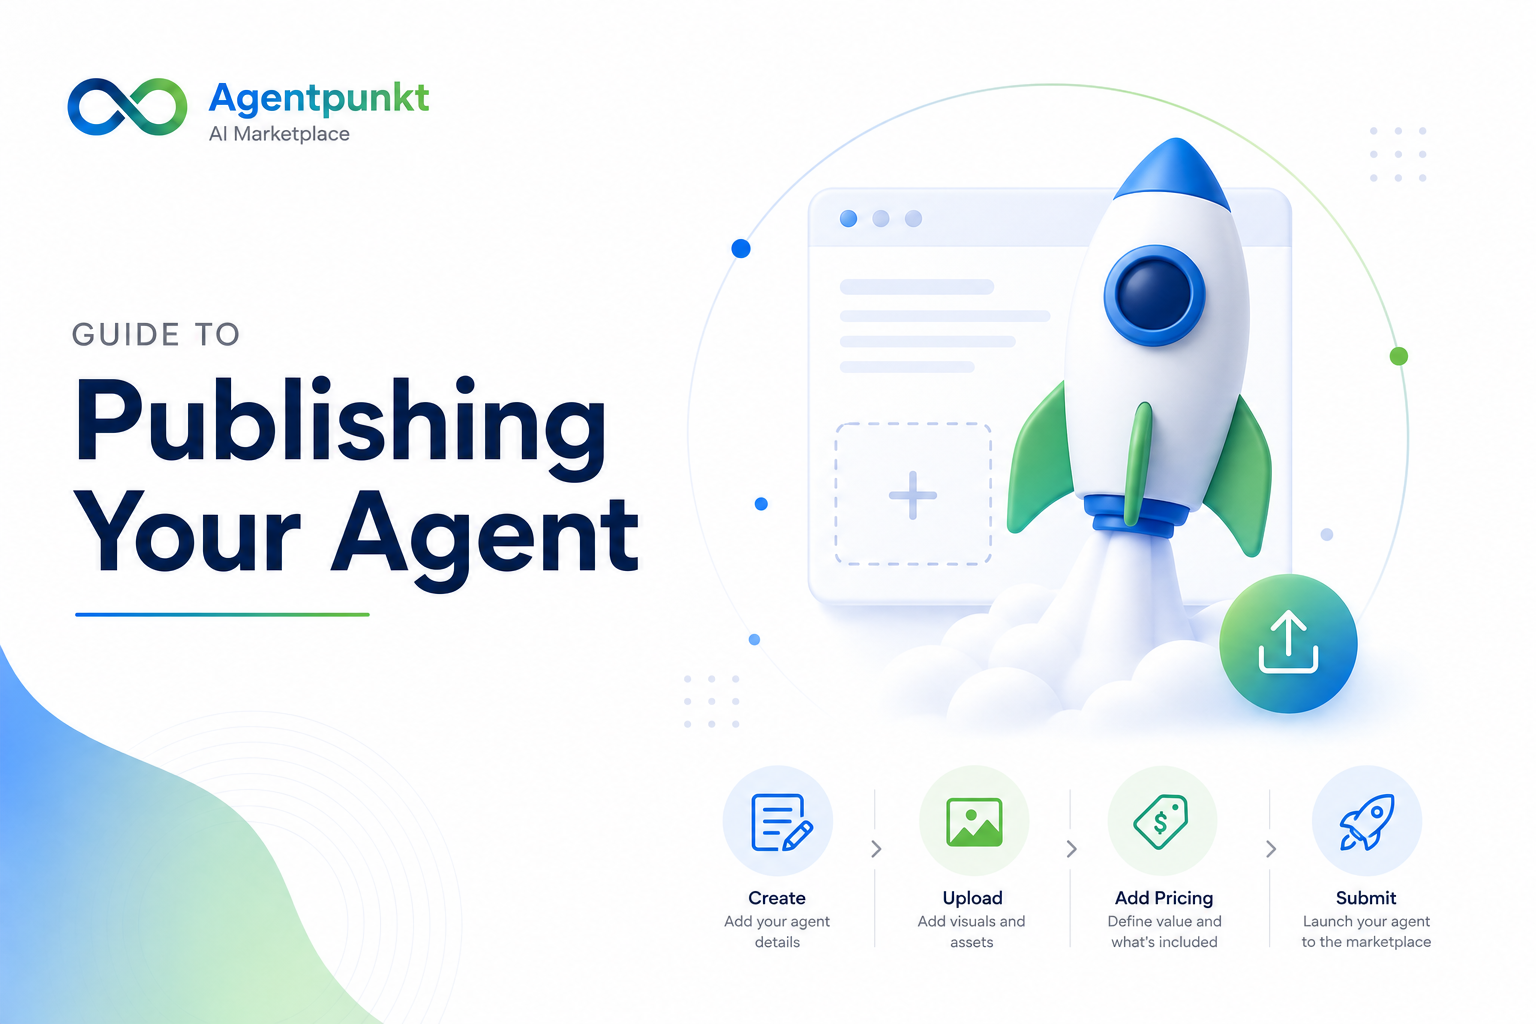
What Does It Mean to Publish an Agent?
Publishing an agent on Agentpunkt means making your AI agent available to the global Agentpunkt marketplace. Once published, your agent appears in search results and category listings, where thousands of business users can discover, evaluate, and hire it. Publishing transforms your agent from a private tool into a commercial product with built-in billing, hosting, and distribution — all managed by Agentpunkt.
Why Publish on Agentpunkt?
Agentpunkt is not just a listing directory — it is a full go-to-market platform for AI agents. Here is what you gain by publishing:
- Global Distribution: Your agent is instantly accessible to a worldwide audience of businesses actively searching for AI solutions. There is no need to build your own website, marketing funnel, or sales process.
- Built-In Billing: Agentpunkt handles all payment processing, subscriptions, invoicing, and payouts through our unified billing system. You set your price and we handle the rest.
- Marketing Promotions: Published agents are eligible for marketplace promotions, featured placements, and SEO-optimized blog coverage through our Agent Boosting program.
- Zero Infrastructure Overhead: You do not need to manage servers, handle scaling, or maintain payment integrations. Our infrastructure supports your agent from day one.
- Vertex AI Search Integration: Your agent's description, tags, and features are indexed by our search engine, meaning users can find your agent using natural language queries like "What agent can help me with contract review?"
- Trust and Credibility: Every published agent goes through a review process, and the Agentpunkt brand lends credibility to your product. Users trust agents on our marketplace because they know each one has been vetted.
Prerequisites
Before you begin the submission process, ensure you have the following ready:
- An active Agentpunkt account (you must be logged in).
- Agent Details: A finalized name, tagline, and detailed description of what your agent does.
- Visual Assets: A high-quality square logo (icon) in PNG or JPG format, and at least one screenshot showing the agent in action.
- Pricing Information: A decision on your pricing model (Free, One-time purchase, or Monthly subscription) and the price point in USD.
- Documentation: Links to your agent's website and technical documentation. High-quality documentation significantly improves approval rates.
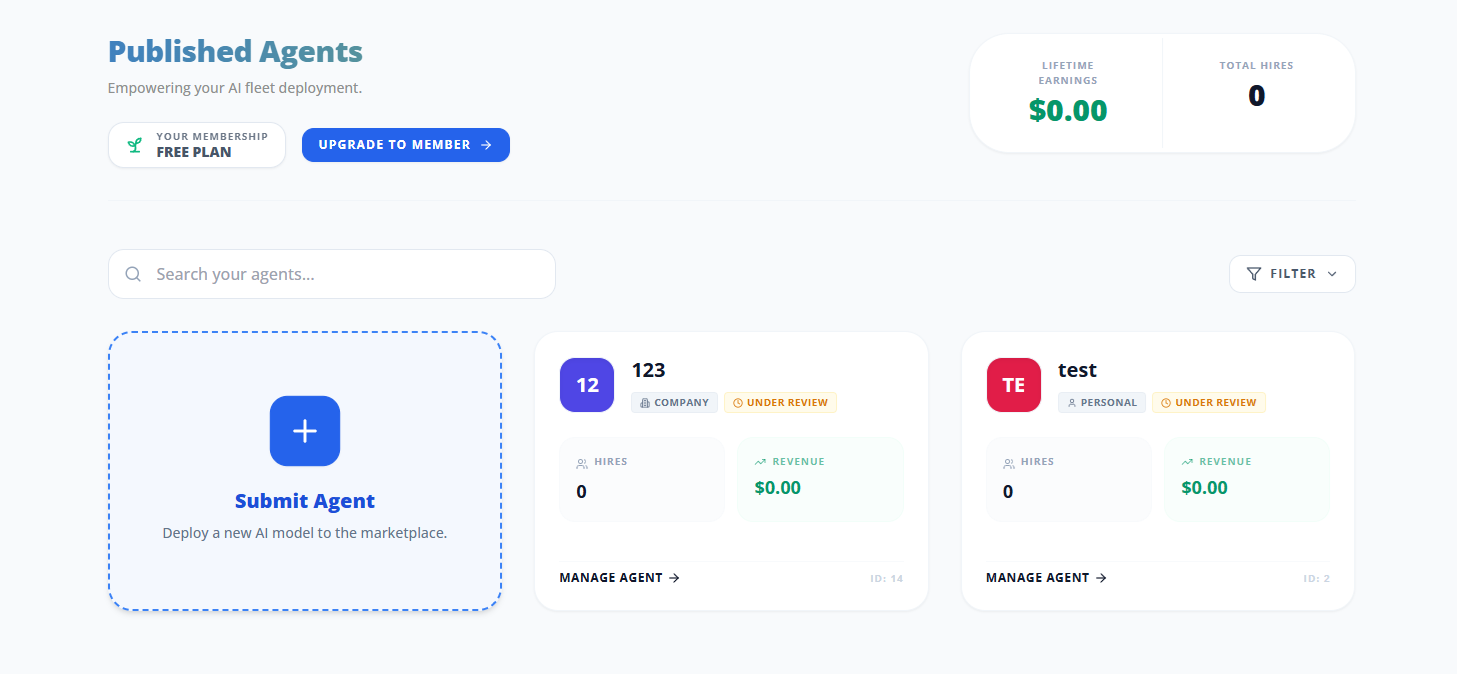
Step 1: Access the Submission Portal
- Log In: Sign in to your account at Agentpunkt.
- Navigate to Published Agents: In the left-hand sidebar menu, click on the "Published Agents" tab. This is the control center for all agents you have submitted or published.
- Initiate Submission: Click the "Submit Agents" button located at the top of the page. This opens the multi-step submission form, which guides you through every piece of information needed to create a professional marketplace listing.
Step 2: Complete the Submission Form
The submission form is divided into three main sections. Each section captures specific metadata that powers your marketplace listing, search indexing, and user-facing profile.
Section 1: Basic Information
This section focuses on the identity and purpose of your agent. Every field here directly impacts how your agent appears in search results and category pages.
- Agent Name: Choose a unique, memorable name that clearly communicates what your agent does. This is the primary identifier users will see in search results and on the marketplace page.
- Tagline: Write a brief one-liner (under 100 characters) explaining what the agent does. Think of this as your elevator pitch — it appears directly below the agent name in listings.
- Description: Provide a detailed explanation of your agent's features, use cases, and benefits. This field is fully indexed by Vertex AI Search, so be thorough and use relevant keywords. Include:
- What problems the agent solves
- Who the target user is
- Key capabilities and differentiators
- Any industry-specific expertise
- Categories: Select one or more relevant tags to help users filter results. Choose categories that accurately represent your agent's domain (e.g., Legal, Finance, Marketing, Data, Support).
- URLs: Provide links for your Agent Website and Documentation. A well-maintained documentation page demonstrates professionalism and increases the likelihood of approval. Users also rely on documentation to understand how to get the most out of your agent.
Section 2: Technical and Visuals
This section covers the assets that make your agent stand out visually and demonstrate its capabilities in action.
- Visual Assets:
- Icon: Upload a square image (PNG or JPG) to represent your agent. This appears as the primary visual in search results, category pages, and the agent's profile page. Use a high-resolution, professional design.
- Screenshots: Upload at least one screenshot showing the agent in action. You can add multiple screenshots to showcase different workflows, features, or interaction modes. Clear, uncluttered screenshots with visible outputs perform best.
- Videos (Optional): Add a YouTube or Vimeo link to demonstrate your agent's capabilities in real time. Agents with video demos typically see a 30% higher conversion rate because users can see exactly what they are getting before they commit.
- Features List: Click "Add Feature" to add specific bullet-point features. These appear as a highlighted, scannable list on your marketplace page. Examples include: "24/7 Availability," "Multi-language Support," "RAG-Powered Research," or "Real-Time Data Analysis."
- Version: Specify the current version of your agent (e.g., 1.0.0). This helps users understand the maturity of your product and track updates over time.
Section 3: Pricing and Review
This section defines how users will access and pay for your agent.
- Pricing Model: Select the billing structure that best fits your agent:
- Free: No charge. Users can install and use the agent at no cost.
- One-time: A single upfront payment for permanent access.
- Monthly: A recurring subscription that charges users each month.
- Price: Enter the amount in USD. Consider your target market, the value your agent provides, and competitor pricing when setting this figure.
- Included Items: Click "Add Item" to list exactly what the user gets with their purchase. Be specific — this helps users justify the purchase and reduces support questions. Examples: "Unlimited Tasks," "API Access," "Priority Support," "Custom Report Generation."
- Discount (Optional): Enable a launch discount by specifying a percentage off the regular price. When active, both the Original Price and the Discounted Price are displayed on your marketplace listing, creating urgency and encouraging early adoption.
Step 3: Final Submission and Review
Once you have filled out all required fields across all three sections, follow these final steps:
Review Your Data: Before submitting, go back through each section and verify that:
- All links work and point to the correct pages.
- Descriptions and taglines are free of typos and clearly written.
- Visual assets are high quality and accurately represent your agent.
- Pricing is set correctly and included items are complete.
Submit Application: Click the "Submit Application" button at the bottom of the form. You will see a "Submitting..." indicator while our system processes your assets and creates the initial listing.
Review Process: Your submission enters our review queue. Our team reviews every agent to ensure it meets our quality, security, and performance standards. The review evaluates:
- Quality: Is the agent functional, reliable, and well-documented?
- Security: Does the agent handle data safely and comply with our platform policies?
- Performance: Does the agent respond within acceptable timeframes?
- Content Accuracy: Does the description accurately represent what the agent does?
Status Tracking: You can track the status of your submission at any time by returning to the Published Agents section. Your application will show one of three statuses:
- Pending: Your submission is in the review queue.
- Approved: Your agent has been reviewed and accepted.
- Rejected: Your submission did not meet our standards. You will receive feedback explaining why and what to improve.
Marketplace Listing: Once approved, your agent is automatically added to the Agentpunkt Marketplace and becomes visible to all users. It is indexed for search, appears in relevant category pages, and is immediately available for hire.
Tips for a Successful Submission
- Keyword Optimization: Use relevant keywords naturally in your description and features list. This helps Vertex AI Search surface your agent when users ask questions like "What agent can help me with SEO?" or "I need an AI for contract analysis."
- Included Items Matter: Clearly listing features in the Pricing section helps users understand exactly what they are paying for. This reduces purchase hesitation and support queries after the sale.
- Professional Visuals: Invest time in creating a high-resolution icon and clear, well-composed screenshots. Agents with polished visuals consistently outperform those with generic or low-quality images.
- Add a Video Demo: If possible, record a short walkthrough video showing your agent handling a real task. Link it in the Videos field. Video demos build confidence and dramatically increase conversion rates.
- Documentation Quality: A comprehensive documentation page is one of the strongest signals of a professional product. Include setup instructions, use case examples, FAQs, and contact information.
- Competitive Pricing: Research similar agents on the marketplace before setting your price. Consider offering an introductory discount to build an initial user base and gather reviews.